 Step 1: Removing the old restorations
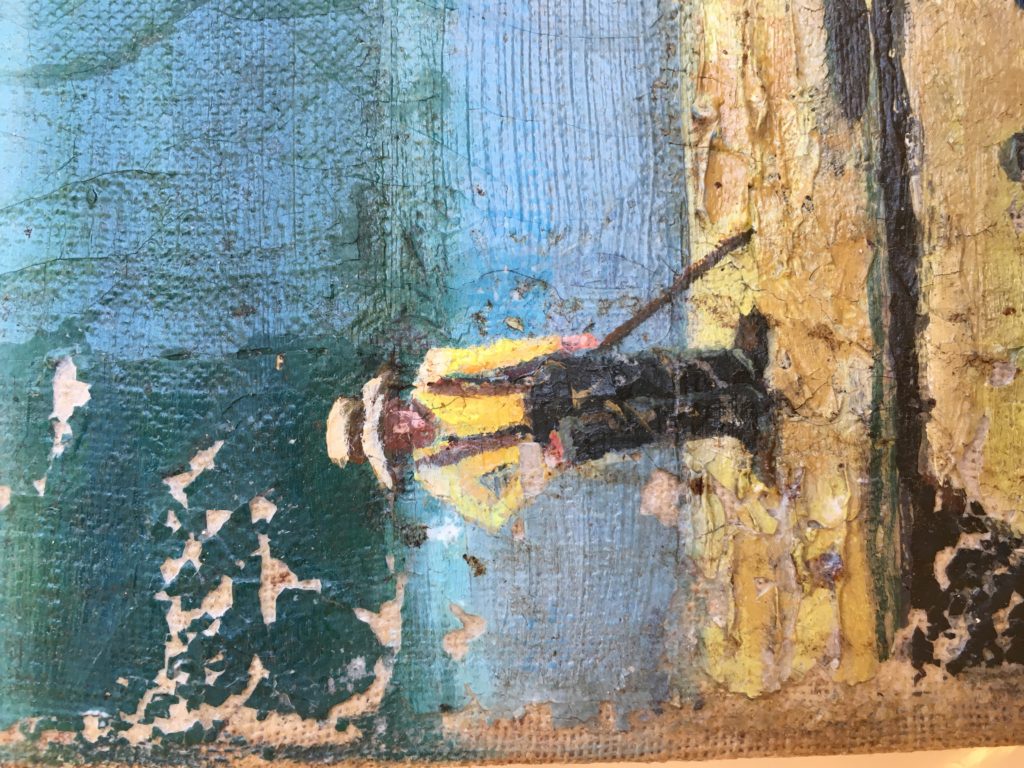
Around 1991 a man rescued the painting, When Old Mauch Chunk Was Young, from a Delaware library clean-out. H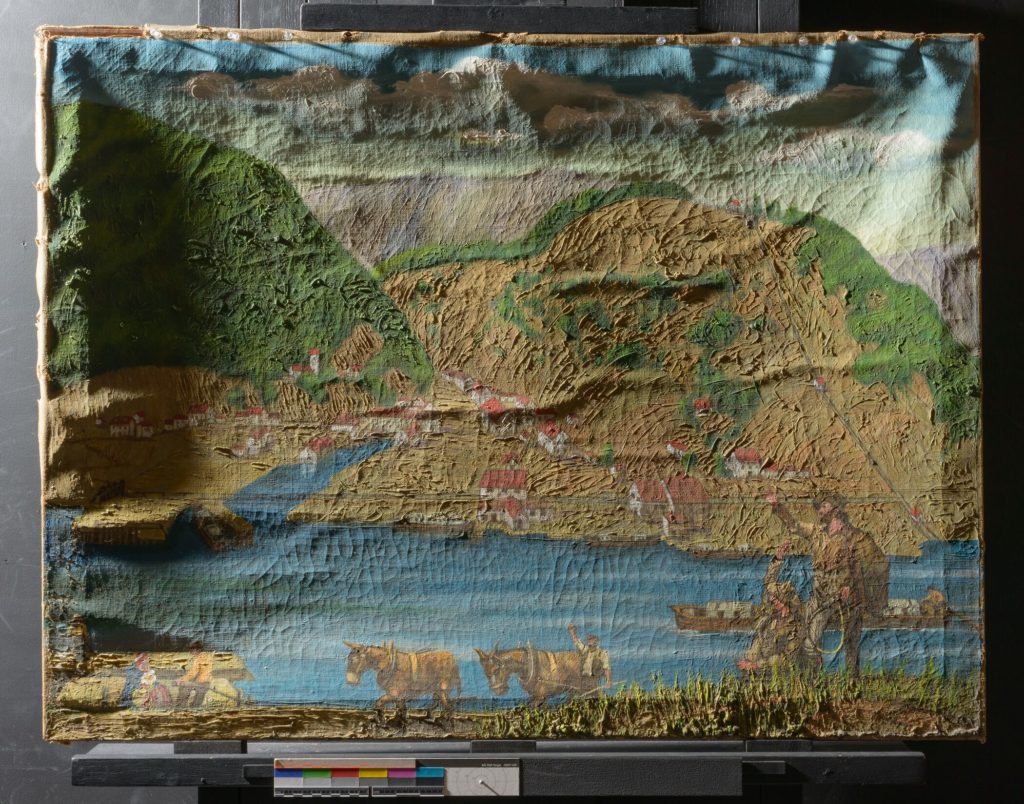 e hired a friend and amateur artist to “freshen up” the painting by overpainting much of the oil painting with acrylic paint. In Phase 1 tests were made to determine the proper combination of solvents and gels needed to remove the overpaint without removing the original oil painting underneath.
Phase 1 also included consolidating areas of the painting that were flaking with a reversible glue (photo, left), so that issues with the reverse side of the canvas could be addressed. Once completed, the canvas could be turned face-down and removed from the wooden stretchers.
Step 2: Bringing the canvas into plane
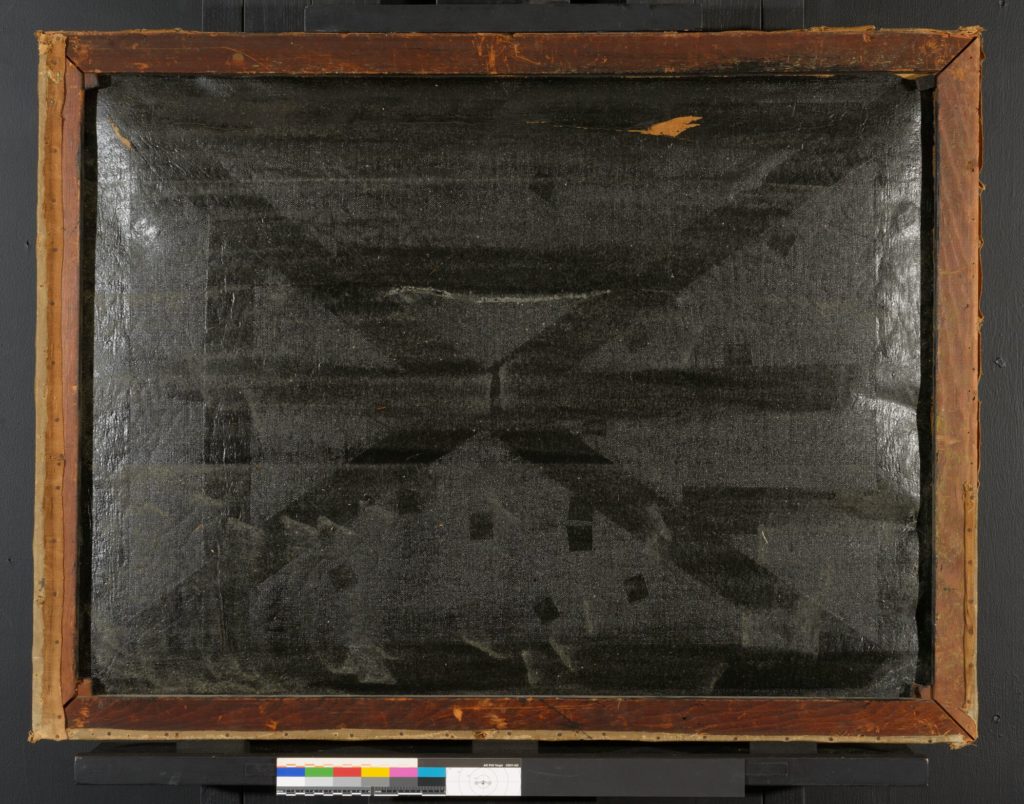
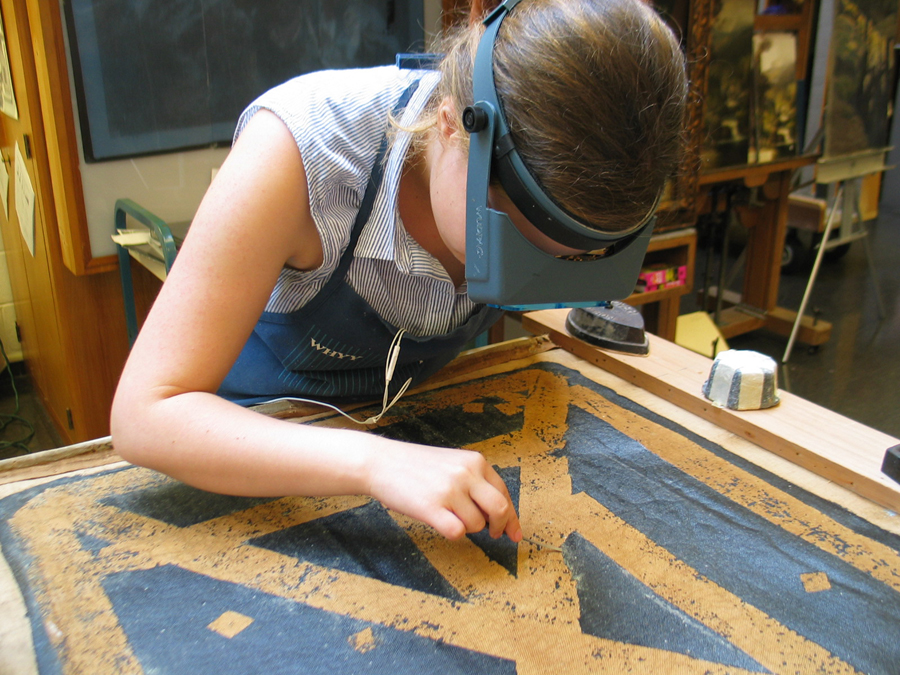
The process of bringing the canvas into plane, or level, required several steps. The painting was photographed under an obliquely-held raking light (left). It clearly shows the extent to which the canvas had puckered and buckled due to “treatments” to the obverse, or back side, of the canvas. A black plastic tape was applied in a Union Jack formation. Then black house paint was a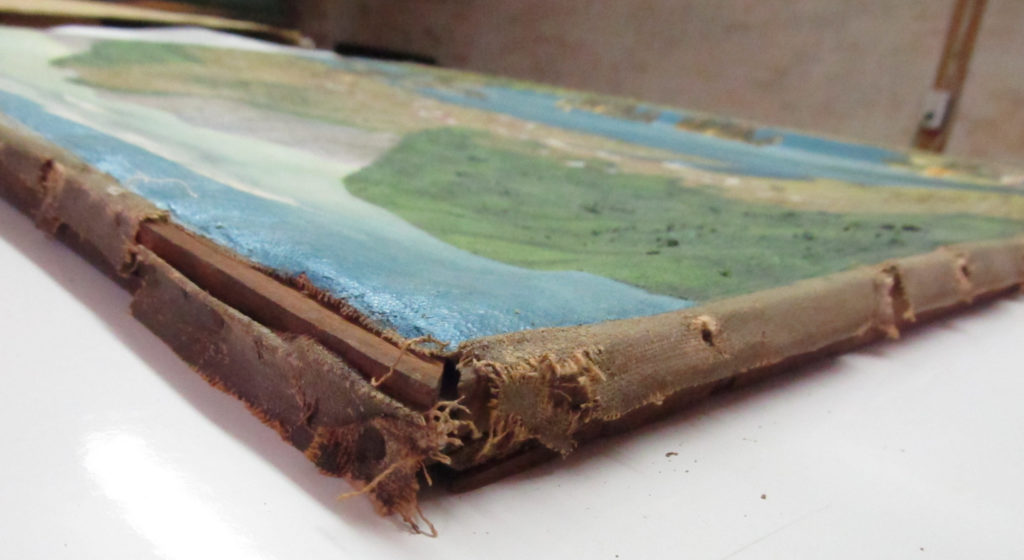 pplied over the tape (photo, below left).
In one respect this unusual application of ordinary house paint and tape may have protected the canvas from the effects of mold and humidity, since the painting was stored for almost 25 years in a facility without climate controls.
However, the plastic tape shrank over the years, causing the canvas to shrink as well. The result caused the canvas to pucker and the paint to flake in areas. Even worse, as the canvas shrank, it tore away from tacks along the tacking edges, particularly in the corners.
The painting was removed from the wooden stretcher and placed face down on cardboard covered with blotter paper. The tacks were removed to release pressure on the canvas. Debris that had gathered in the corners was carefully vacuumed away. In this photo (below) project leader, Charlotte Adams Brooks, uses a scalpel to meticulously scrape away tiny pieces of the tape.
Step 3: Lining the canvas onto a stable fabric
Before Old Mauch Chunk could be re-tacked onto its original wooden stretcher, the canvas needed to be brought into plane and attached to a stable fabric lining. The supporting lining fabric was necessary due to the extreme distortion of the original canvas. In addition, the damaged and torn tacking edges could no longer be used to secure the painting to the stretcher.
First, the canvas was placed in a relative humidity chamber for six hours at 80% RH to make the cupped and curled oil paint and creased canvas support more pliable. Next, the painting was placed face up on a vacuum heat table. Heat was turned on, a vacuum was drawn, and the painting was gently coaxed into plane. Excess moisture was removed by placing the painting under blotters and gentle overall weights for several days.
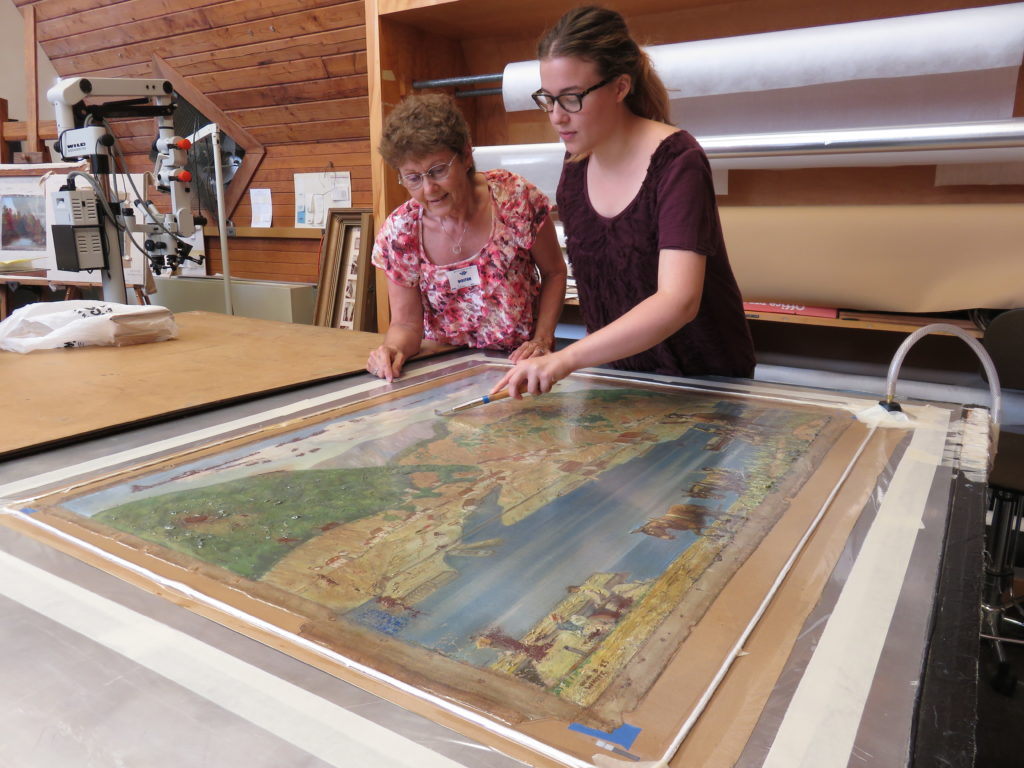
Then a special stable and inert lining fabric was prepared with a reversible heat-activated ethylene vinyl acetate adhesive. The now-planar painting was placed onto the prepared lining fabric face up on the vacuum heat table and covered with a single piece of very thin Mylar. Heat from the table warmed the fabric, adhesive, and original painting to about 140 degrees Fahrenheit. Heating the fabric while the vacuum pump was turned on activated the adhesive and caused a perfectly planar canvas to adhere to the fabric lining. The lined painting was cooled to room temperature under vacuum for three hours.
In the photo (right) Charlotte Adams Brooks burnishes the Mylar plastic sheet covering the painting while on the vacuum heat table.
Next, the lined painting will be tacked onto the original stretcher (which has been cleaned) and made ready for Phase 3.
Stay tuned for the final phase of the conservation of When Old Mauch Chunk Was Young.